|
Now shift+alt+click the crates model and
press N.
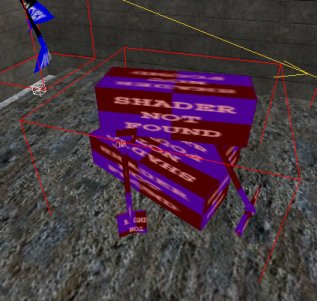
This is the model of the crate
boxes. A skin ie a texture, is
applied to the crates model to make them
axis crates.
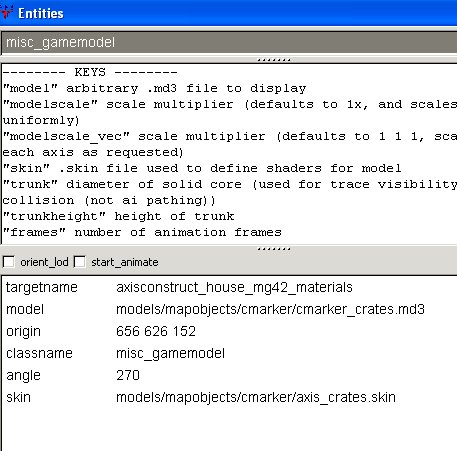
 Models
are not rotated in the map in the same way as brushes. That is, if you
try to rotate a model it won't do anything. To adjust the angle of a
model, you use the "angle" key and a value in degrees. If
angle is not specified, 0 (East) is assumed. These boxes have been
rotated 270 degrees. Models
are not rotated in the map in the same way as brushes. That is, if you
try to rotate a model it won't do anything. To adjust the angle of a
model, you use the "angle" key and a value in degrees. If
angle is not specified, 0 (East) is assumed. These boxes have been
rotated 270 degrees.
|
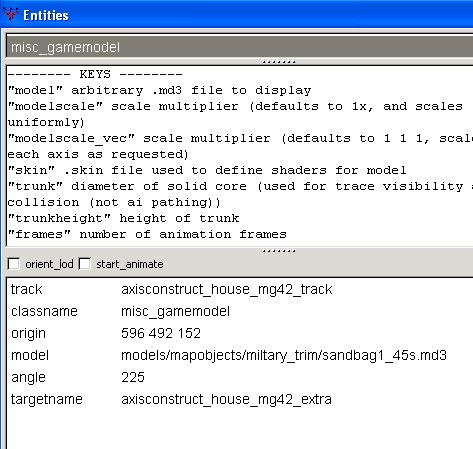
The classname is misc_gamemodel
rather than misc_model.
Use
misc_model for any sundry model, no matter how big or small, that will just
sit there and do nothing, like trees.
Use misc_gamemodel if the model needs to be referred to in the script.
There is an exception to this which will be covered later.
|
Close the window and press H.
Shift+alt+click the flag. Press N.
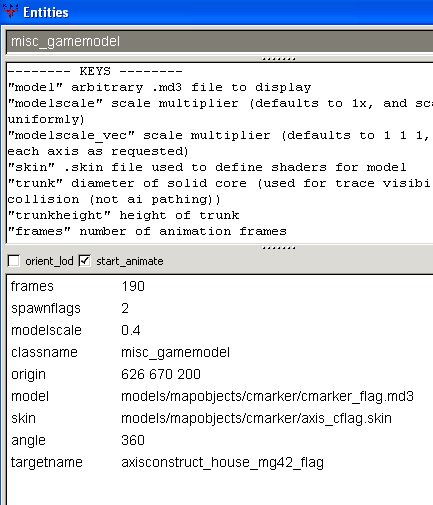
This model is animated: the flag flaps in
the breeze. Hence the start_animate
and frames settings.
The 360 degree angle seems pointless, but
hey, that's how it is in Goldrush so I've
left it alone.
Close the window and press H.
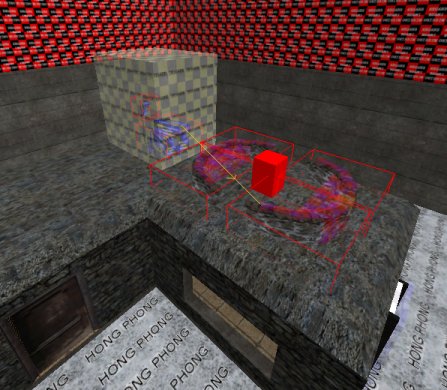
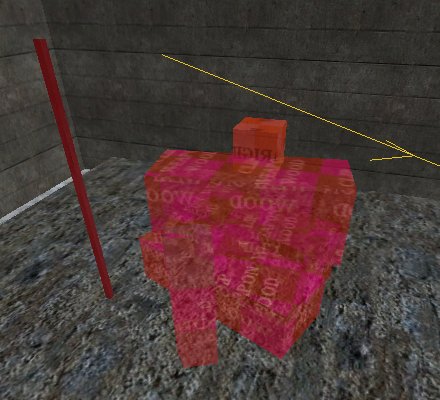
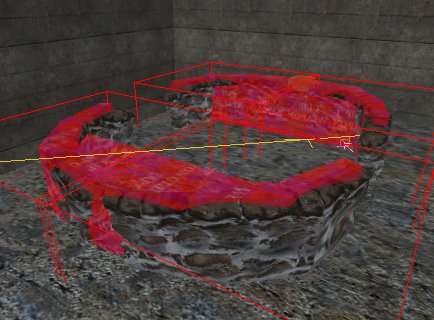
Ok, that's dealt with the crates side of
the MG42. Now select the red box which
is the MG42, and press N.
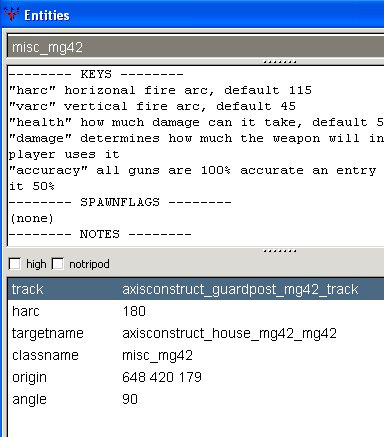
I have given the MG42 a horizontal arc of
180 degrees, which allows it to spin
completely round. Normally the default
arc is ok so harc is not specified
I wanted the built MG42 to face north, so
I gave it an angle of 90 degrees.
Close the window and press H.
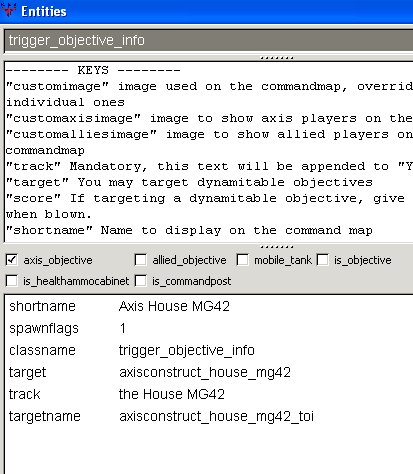
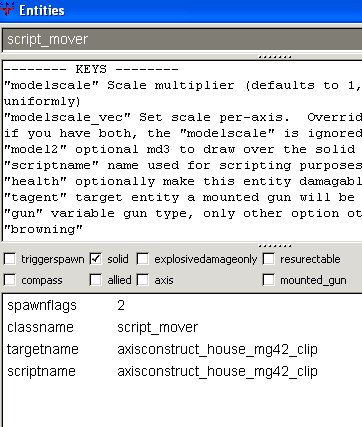
Shift+alt+click the clip brush that
envelopes the sandbag models.
Press N.
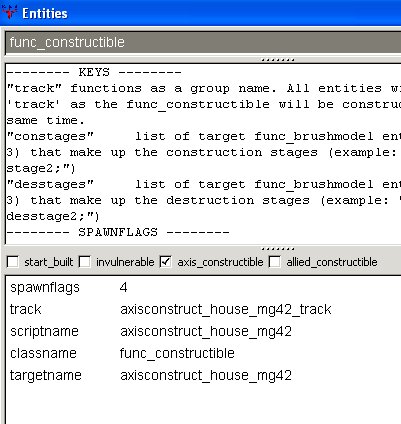
The clip brush is a func_constructible,
ie the subject of a toi trigger.
The MG42 + sandbags are to be built by
axis, so the axis_constructible box
is ticked.
The track in this instance is used
by ET to tell it to consider anything else
with the same track value to be part of the
constructible. So when the clip gets
built, the models with the same track value
undergo the construction with it.
Close the window and press H. You
are left with just 4 models.
Shift+click any of them.
You know enough now from previous
explanations to be able to interpret the
settings shown.
Press shift+H to reveal everything
again. Save your work and compile
it. Don't test it yet.
|