|
We'll add an archway inside the room.
The same principle would apply to making
archways and tunnels outside of course.
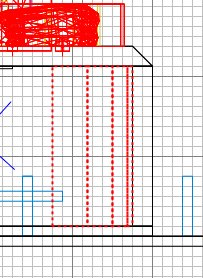
Draw a brush as shown, then Select
Complete Tall and Hide them. This just
makes it easier to see what we're doing in
the room.
Let's put in a couple of uprights to be
the arch supports.
Draw the brush as shown, caulk it and
make it detail.
Get a side view and make sure it goes
from floor to ceiling.
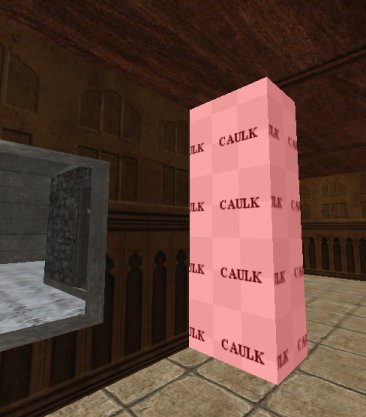
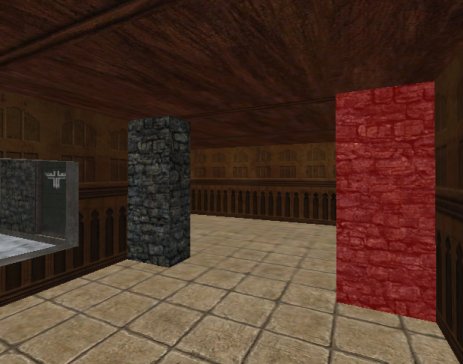
Select the 3 visible faces and give them
the church_c01dm texture. Press
ESC. Get the 2D overhead view and then
duplicate the brush, mirror it in the X-axis
(x-axis flip button), and move it to the
opposite wall.
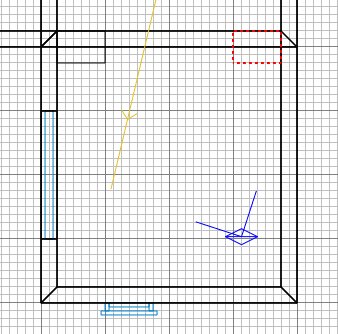
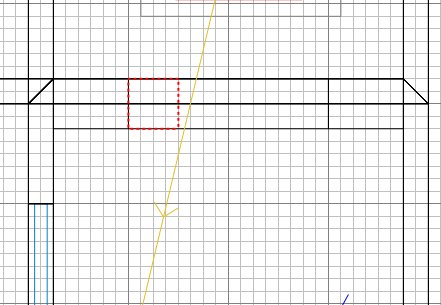
Press ESC. Now we'll put in the
connecting ceiling section prior to creating
the archway.
Draw a connecting brush as shown and
caulk it and make it detail.
Get a side view and shrink the brush up
to a narrow strip at the ceiling.
Apply the brick texture to the 3 visible
faces of the new brush.
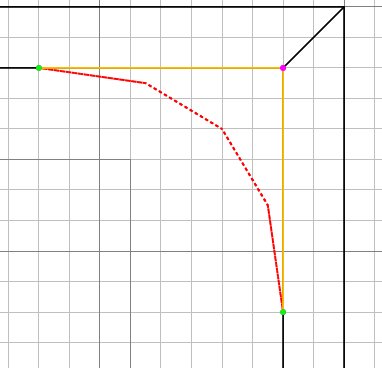
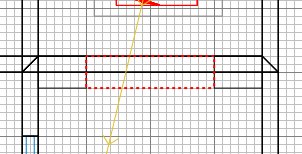
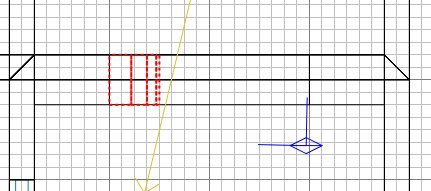
Overhead view again in 2D and draw a
brush as shown.
Curve/Bevel to turn it into a patch, then
rotate it 90 degrees in the x-axis (x-axis
rotate button).
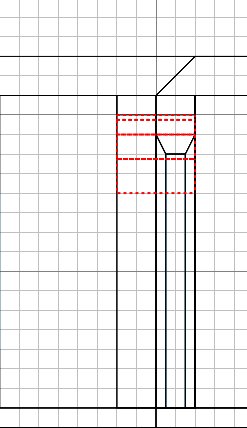
Reize the brush until it's the same width
as the columns.
It's the wrong way round for this side of
the archway, so rotate it twice in the Z
axis. Then ctrl+tab twice so we can
move it vertically into place. It
should be placed as shown here:
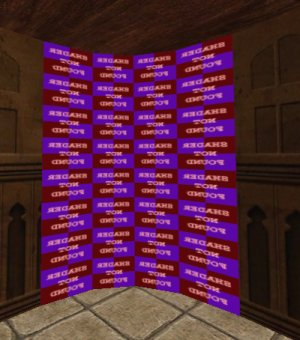
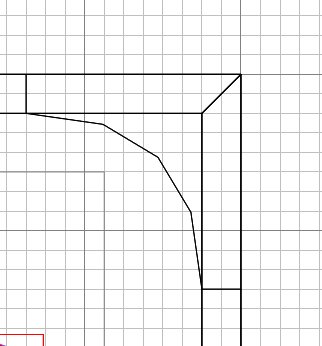
In the 3D view we can see the texture is
on the inner face and we want it on the
outer face: Curve\Matrix\Invert.
Now we can also see that the texture is
oddly stretched. Press shift+S
and click Natural, then rotate it 90 degrees
by clicking the up arrow rotate step twice.
Now to fill in the gap: Curve\Cap
Selection\Inverted Bevel\OK.
We end up with a func_group consisting of
the curve and two caps to plug the gap.
With the group still selected, get an
overhead view, duplicate the group, mirror
it in the x-axis and move it to the other
side of the archway. Press ESC.
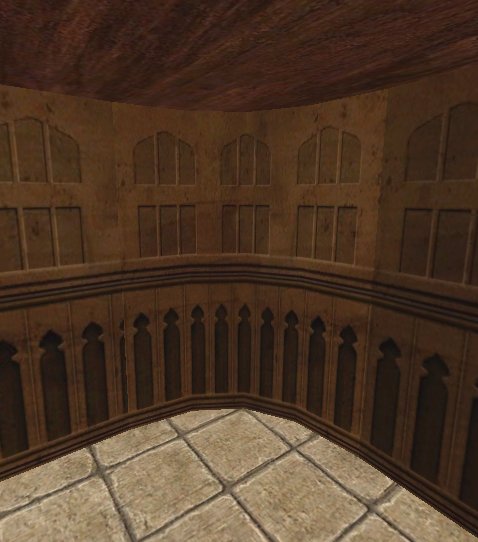
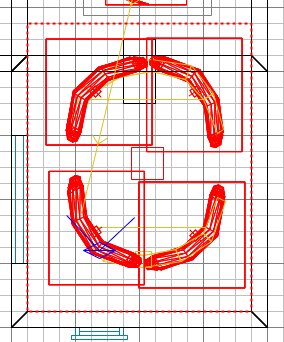
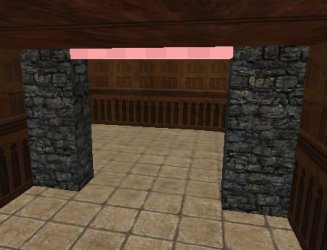
It should now look like this:
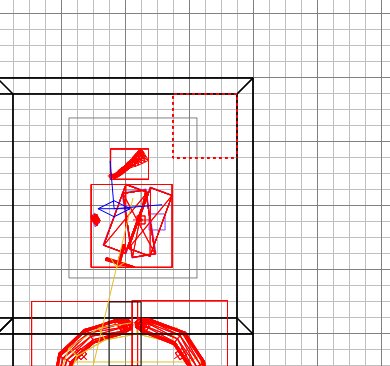
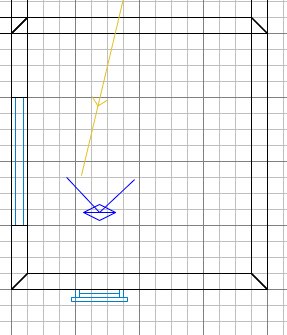
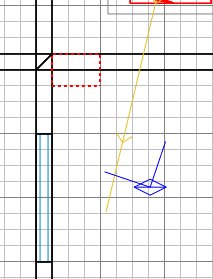
When you press shift+H to reveal the
hidden brushes you will see the light is
sticking through the arch wall, so move the
light so that it isn't stuck in the
wall. It is shown in the next picture
with models filtered out so you can see
where I moved it.
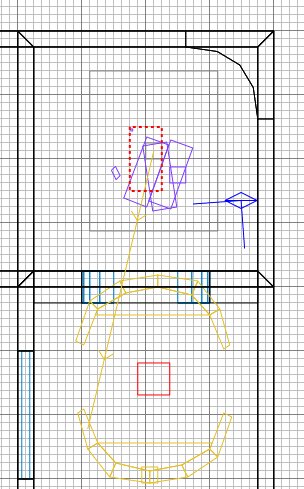
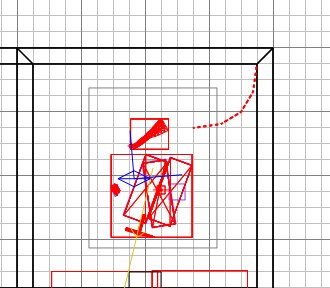
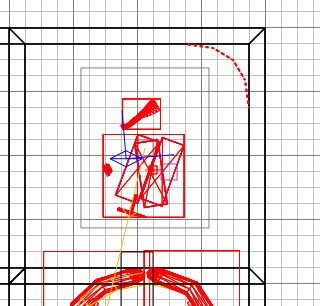
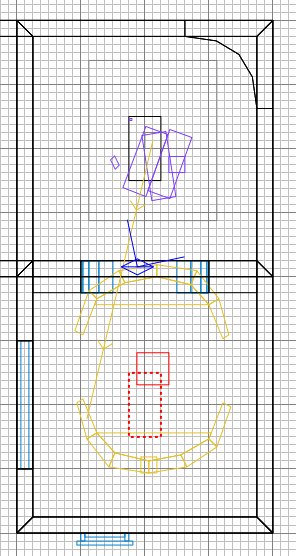
Duplicate the light and drag the new
light down to the middle of the new room
area.
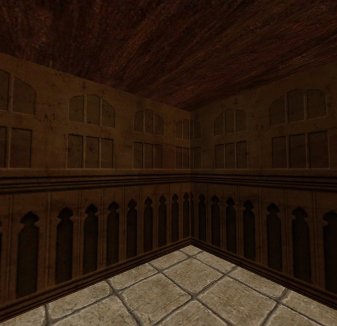
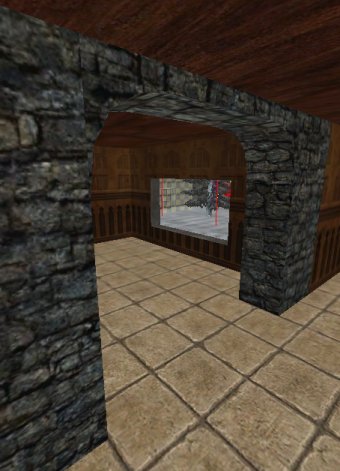
Save, compile and test the look of the
arch. Backup your work if you haven't,
in case it all goes pear shaped later on.
Strictly speaking we should cut the
upright columns and caulk the faces that are
obscured by the arch patches. Let's
take that as read and move on :)
|