|
Run PSP or equivalent.
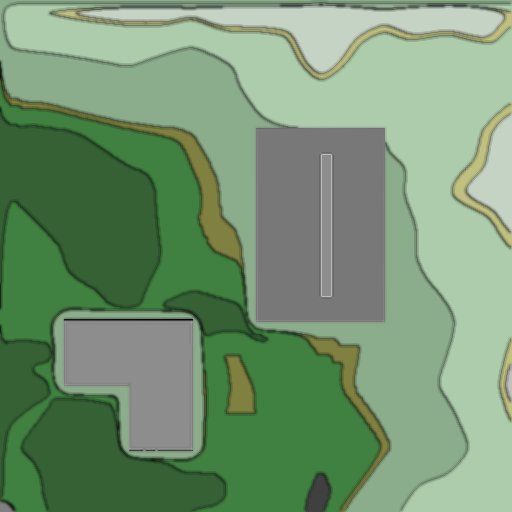
Open tutorial_tracemap.tga which
will be in the maps folder.
This is what mine looks like:
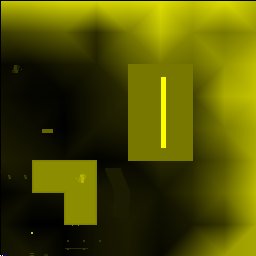
You can see the building and the wall on
the slab, and the rest is pretty much
smudgy.
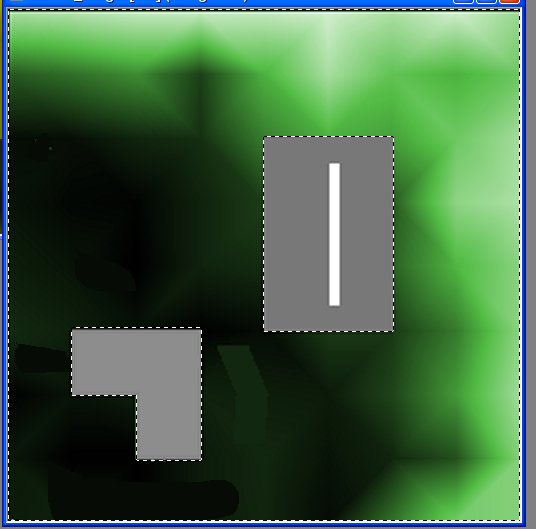
We want to split the image into its 3
constituent RGB (Red/Green/Blue) channels -
one of which might give us a better picture.
In PSP, click colors/split
channel/split to RGB
You get 3 new images. Discard the 2
most useless ones, and keep the
clearest. I'm using:

The image is 256*256 - expand it to
512*512 (don't just zoom in, actually make
the image bigger). Also increase the
colour depth to 24 bit, ie around 16 million
colours.
Using picture editing tools, tidy up the
image to remove little grey specks (eg the
fence posts, CP, ramp boxes, etc).

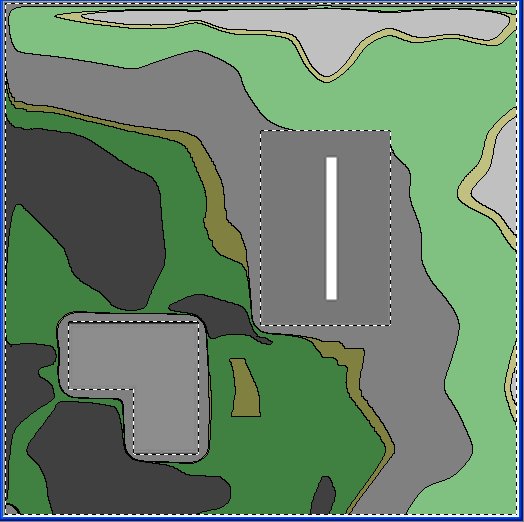
Then you should try to improve the look
of it. I will give it a greeny colour,
other than the buildings. So I select
the buildings, invert the selection (to
select everything else) and colorize it to a
shade of green.
Then I apply a contour function,
to make the green area look like a paper
map.
Then I fill in some of the areas with
better colours:
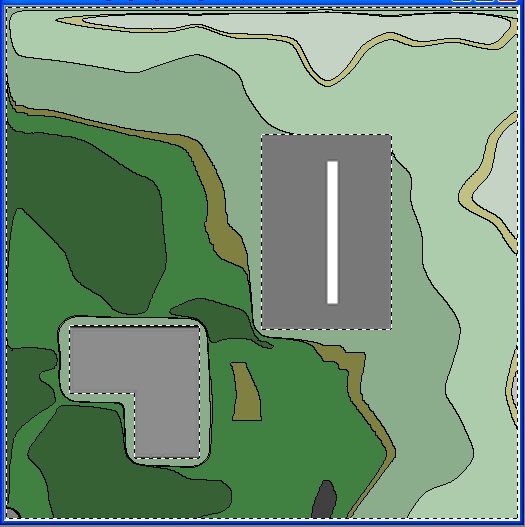
Finally I perform a blur function
to soften the edges of the contours.
If you want to add writing (bear in mind
there will be icons and marker text put onto
the map in ET) you should create new layers
and put the text onto them. Then if
you want to change/move the text later on,
you can. You won't be able to if
you've put the text straight onto the map
image.
There are many graphical effects you
could employ to make the map more stylish
and interesting - it's up to you, your
imagination and your patience.
Save the file to a PSP format (to retain
the layers info) then save a copy of it to
etmain/levelshots/tutorial_cc.tga -
make sure the file is saved as a TGA
type. Always work on the PSP version
and save revised copies to the TGA version.
Run ET and run the map - you should see
your own command map :)
|