2Bit's Mapping Corner on www.PythonOnline.co.uk
ET Mapping Tutorial

Lesson 5c

Topics

Completing the room
  
Putting on a ceiling
Putting in lights
Back to main menu
Putting on a ceiling [Top]
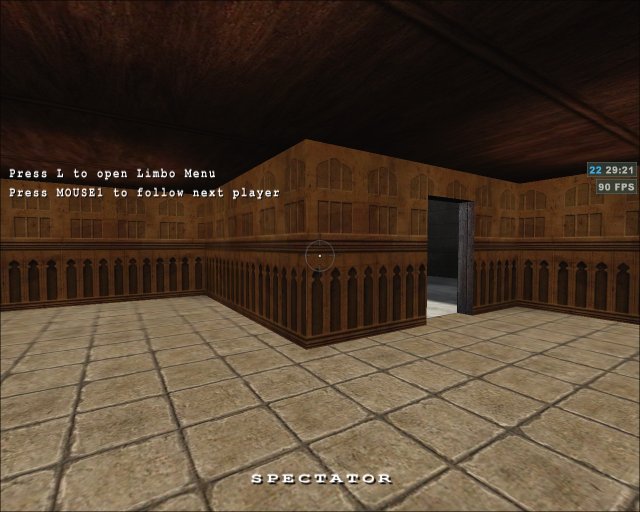
Run Radiant.  Open the tutorial map.  Adjust zoom and scroll (right-click and drag) in the 2D window so you can see your building outline. You might want to move your 3D view too so that you can see what you are building in the 2D window.

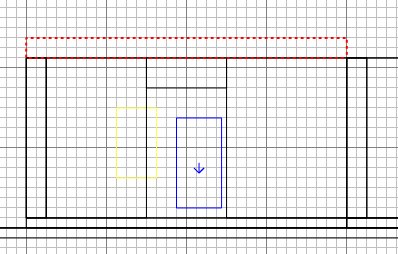
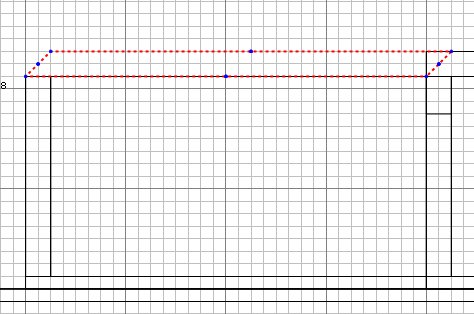
Press 8 for the grid scale.

Create a square brush to be part of the ceiling,  Caulk it.

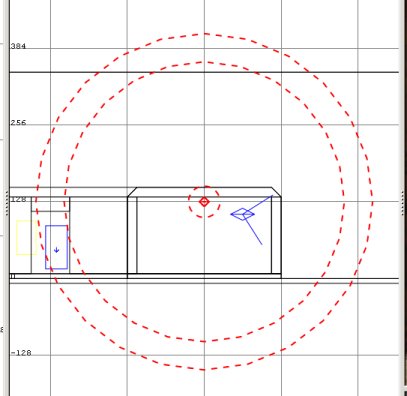
Press ctrl+tab to see a side view.  Change the grid scale to 4 and move the block up so it sits on the walls.  Then reduce the height of the block to 2 grid units.

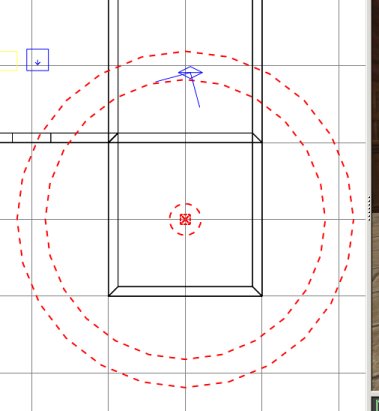
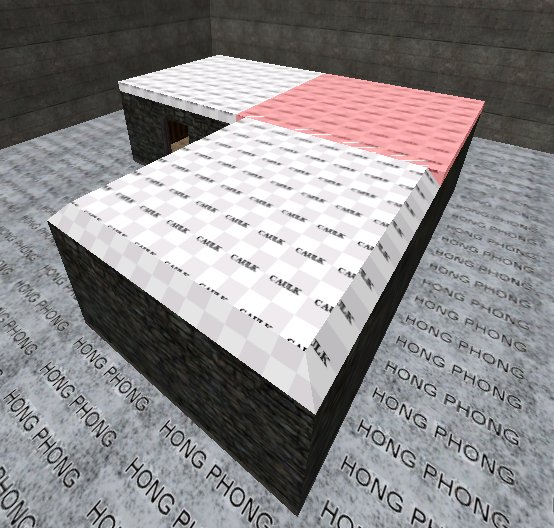
Press ctrl+tab twice to return to the overhead view.  Duplicate the block and slide it to make an adjacent piece of ceiling.

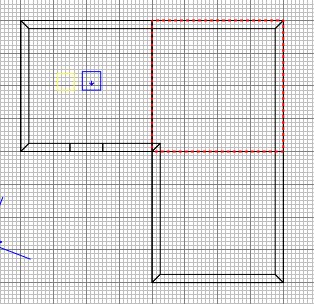
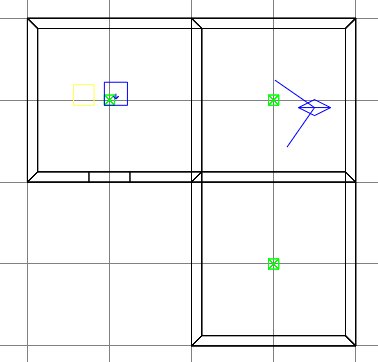
Duplicate the new block and slide it to complete the ceiling.

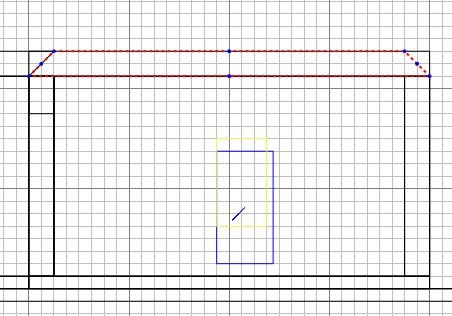
Ctrl+tab to get the side view.  Press E and drag both edges of the ceiling in to make a more interesting roof line.

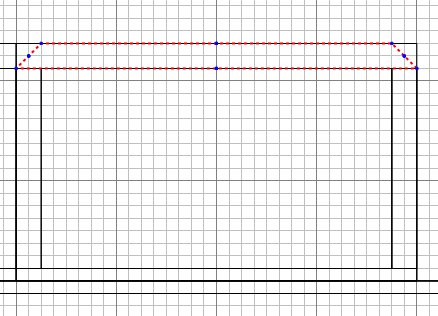
Press ctrl+tab again, and drag the ceiling edges to the right.

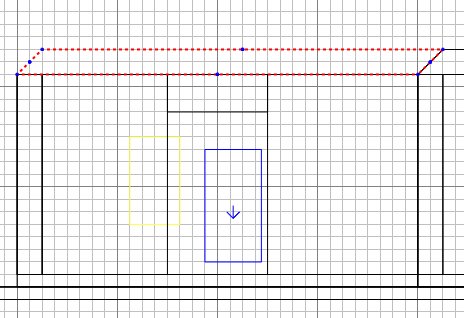
Press ESC and in the 3D view, select the next ceiling slab.

Press E and drag the ceiling edges inward.

Ctrl+tab twice and drag the edges inward,  just the same as above.

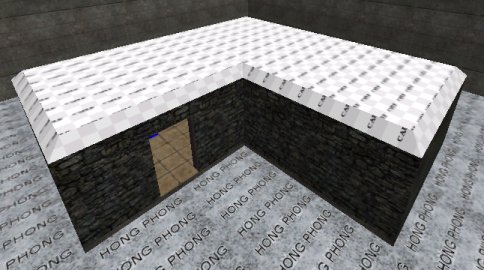
Press ESC and select the last ceiling slab.  Press E and drag the ceiling edges ro the right.

Ctrl+tab and drag both edges inwards.  Press ESC, and ctrl+tab to 
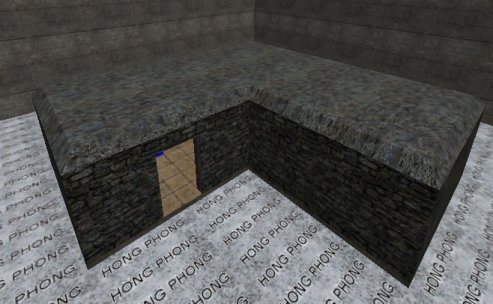
get the overhead view.  If you've got it right, the roof should have a nice sloped edge to it all the way round.

Now we'll texture the outer roof.  Press shift+ctrl+click on one of the faces in the 3D view, then shift+ctrl+alt+click the rest.

Apply Textures/castle/castle_wall castle_c09_2.  Press ESC.

Move your 3D view to inside and select all the caulk ceiling faces.  Apply Textures/chat/chat_wood chwood_c04.  Press ESC.

Putting in lights [Top]
Finally we need to add some interior light now that the sky won't illuminate indoors.
For quick light without worrying at this time about lamp models and the like, we're just going to insert light entities to give off light.  Later when we've added windows and the like, we can position light where it's needed and put lamps in to match.

A light entity is a special map element, a point specified by you to occupy a given co-ordinate and give off light.  The effect of the light, shadows, etc, is calculated during the compiling.  The more lights (among other things), the longer the compile.

Get the overhead view in 2D.  Press 8 to get the large grid size.  Right click where shown below, and select "light".  A small Light Intensity window will open, probably with the default value of 300.  If not 300, set to 300.  Click OK.

Press ctrl+tab to look from the side, to make sure the light is near the ceiling.

Then Press N.

Weird Radiant feature here.  The first time you press N to get entity info, you get a window that actually lacks some info.  Close the window and press N again and you get extra info, this time it will show details such as tick boxes.
In the case of the light entity, tick the non-linear tick box (it makes the light brighter).  Close the entity window.

Ctrl+tab twice to get overhead view again.  Duplicate the light entity and move it into place, and duplicate it again and move the third entity into place.  Press ESC and it should look like this:

Save, and compile, and test.  With luck, it will look like this:

Next lesson