|
As you know, textures can give off an
ambient light of their own, such as if you
put a sky texture on a ceiling or wall
face. This is done by creating a
shader (a set of instructions) for the
texture. We won't need to do this
ourselves because there are plenty of
pre-supplied light textures with the shaders
already done.
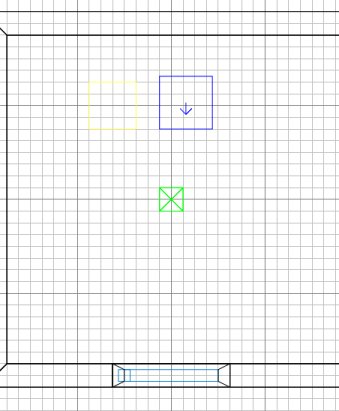
Select both of the other lights in the
room and delete them.
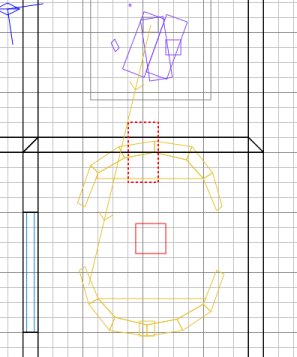
In 2D topdown view, create a brush which
we will make into a ceiling light.
Press shift+M so that the models aren't
shown. This makes it easier to see
what we're doing.
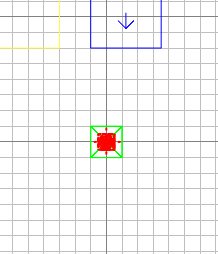
Press 5 and draw a brush as
shown. Caulk it and make it detail.
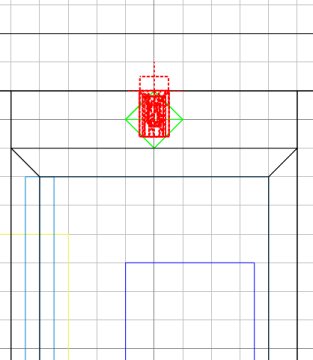
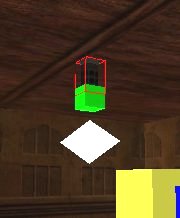
Select the brush again.
Ctrl+tab so you can move the brush up to
the ceiling. Press 4 so you can
get it flush against the ceiling.
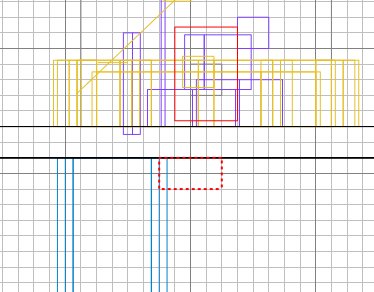
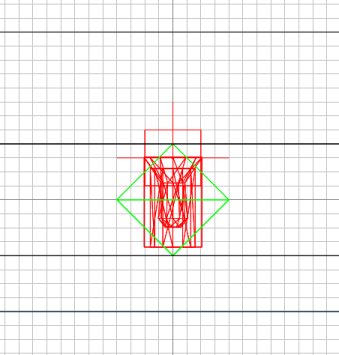
Apply
a metal texture to all of the 4 side faces
of the brush (shift+ctrl+click in 3D on one
face and shift+alt+ctrl+click the other
3). Metal_c07 will do, and it's
already listed in the texture window.
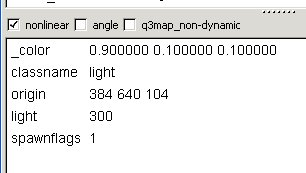
Now shift+ctrl+click the bottom face,
which will be our light texture.
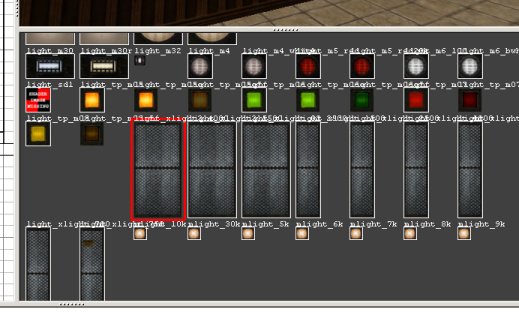
Select Textures/lights and apply
light_xlight3_4000.
The
texture is misaligned on the face, so press
S and click Fit and Done, and press ESC. Select
the brush, and shrink it upwards so it's not
such a chunky brush. Use grid scale 2
to achieve this. 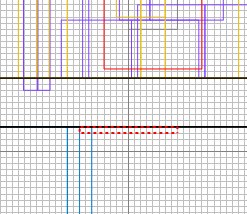
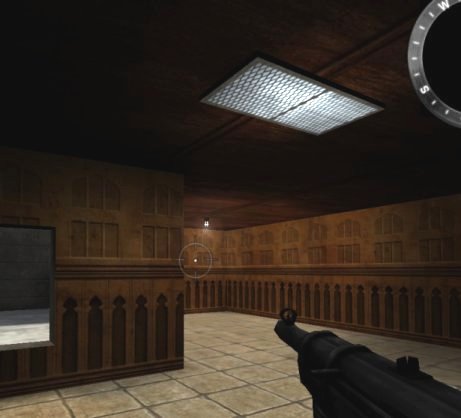
Press
ESC and press 5 to put the grid scale back
to something sensible. Press shift+M
to remove the models filter if you haven't
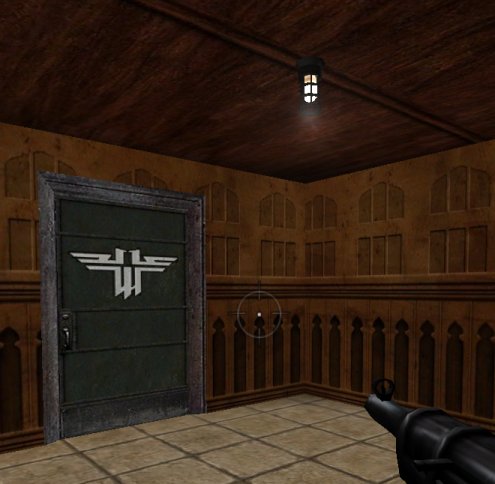
already. Compile and test
and you should see something like this:
|